Repotting Guide: Timing, Size, & Soil

By Maddy Hogan
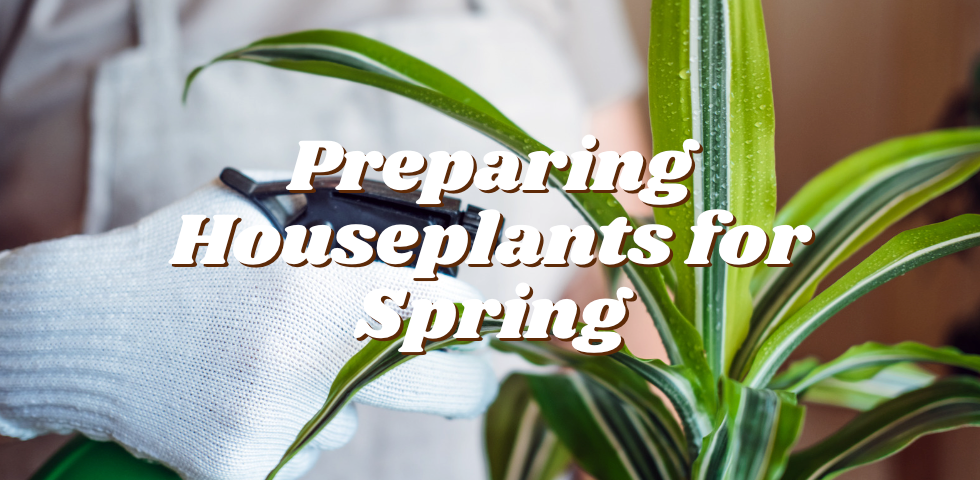
Spring is officially here and it is time to begin repotting your indoor house plants to get them prepped and ready for the growing season. We will dig, pun intended, into signs that your plants need to be repotted in this post and we will walk you through the importance of repotting your indoor houseplants annually.
Spring marks the beginning of the active growing season and the best time to being your repotting of indoor houseplants. At this time, plants are actively growing, and the chances of damaging their roots during the repotting process are reduced. Repotting during the active growth phase also helps your plants to recover quickly from any shock or stress caused during the process.
During the lifespan of your houseplants, they will outgrow their current containers, and it will become necessary to repot them. The most common signs that indicate your plants need repotting include:
- Root Bound Plants: this is evident when the roots have outgrown their current container, often times growing through drainage holes in the bottom of their pot or climbing up the sides of the current container and pushing up through the soil.
- Yellowing or Stunted Growth: when new growth patterns have slowed significantly or you not notice that new growth is yellowing, it can be an indication that the plant needs repotting to refresh the soil and the associated nutrients, access to proper water drainage, and ensuring that the roots have ample space for continued growth.
- Water Runs Straight Through the Soil: if you have ever watered a houseplant and the water immediately drains straight through, it can be an indication that the soil is compacted. This occurs for many soils and reduces the ability for nutrients and water to be absorbed by the plant's root system.
-
Soil is Old and Depleted: at Riza, we recommend repotting your plants in pot sizes 8” and smaller on an annual basis, and those plants in 10” or larger on a 18-24 month basis. This helps to ensure that the soil is not too old and depleted of its nutrients and supplements. Over time, these nutrients in the soil that are critical to a plant’s health are washed away through regular waterings and it is important to ensure the soil is regularly refreshed.
Riza offers repotting services in our downtown Napa location and we are happy to assist you in the process and explain step by step how to repot your plants, what nutrients and fertilizer your plants will benefit from, and ongoing plant care and watering needs. We offer this service for plants and pots at the time of purchase in the store, but we also offer this service for any plants you have at home that you would like to bring in and have us repot as well. So if the repotting process seems intimidating, we are happy to provide the service for you in the shop, just ask one of our store associates for details and pricing.
If you do build up the confidence to repot your plants at home, we break down the process to achieve the best results below.
Step 1: Choose your soil
Make sure that you are aware of your plants soil needs, cactus and succulent soil or regular indoor potting soil, to ensure that your houseplants have the proper amount of drainage. Plants that require more minimal watering and prefer good drainage should be planted in a cactus or succulent soil, which is more gritty and dry in texture with perlite to provide proper drainage and efficiency in drying out the soil. Regular potting soil will retain moisture longer than a cactus or succulent soil and often contains peat moss or additives to help the soil dry out less quickly. When in doubt on what soil your plant needs, you can never go wrong with planting in cactus or succulent soil, just to be safe!
Step 2: Choose a New Container
Choose a new container that is at least 2 inches in diameter larger than the current container. It should have drainage holes at the bottom to prevent water accumulation at the bottom, which may cause root rot, and allows the plants roots and soil to breathe and dry out appropriately between waterings. Avoid choosing a container that is too large, or more than 2 inches larger than the previous container, as it can cause overwatering, water retention within the soil, and slowed growth due to transplant shock.
Step 3: Remove the Plant from its Current Container
Gently remove the plant from its current container by loosening the soil around the edges. If the plant is root-bound, you may need to gently tug on the plant to release the roots from the soil. If the plant is in a plastic nursery pot, you may lay the plant carefully on its side and massage the roots and soil by rolling back and forth to free the plant from the container.
Step 4: Inspect the Roots
Inspect the roots for any signs of damage or disease. If you notice any, trim them off with a pair of sharp, clean scissors as this will help to prevent the spread of disease and promote healthy growth. It is also best to carefully remove as much of the old soil as possible from the roots prior to repotting. Use care when shaking the soil free from the roots to ensure you do not cause any damage to the root system.
Step 5: Place the Plant in its New Container
Line the bottom of your new container with 1-2 inches of fresh soil and center your plant and its root system in the container. Add fresh soil around the edges, slowly compacting to ensure that the soil fills in around the roots to stabilize the plant. Make sure that you do not fully compact the soil into the container as this will limit soil drainage and the ability for the roots to access water and nutrients needed.
Step 6: Water the Plant
Water the plant thoroughly to help settle the soil and remove any air pockets. Ensure that the water drains out of the bottom of the pot to prevent the soil from becoming waterlogged.
Step 7: Place the Plant Back in its Location
Place the plant in a location that provides the proper amount of light and temperature for the plant's species. If you ever have questions about light and water requirements for your plants, do not hesitate to ask one of our store associates or email us at hello@rizaplants.com
Repotting your indoor plants is an essential task that helps to ensure their continued growth and overall health. We recommend spring time as the weather begins to warm up to jumpstart your repotting to make sure your fresh soil and nutrients are adequately supporting your houseplant’s needs. In addition to offering repotting services in store, Riza also carries all the soil bar supplies you need to carry out repotting all on your own.
Check out our storefront location at 1300 First Street Suite 3565 for different soils, peat moss, bark, perlite, as well as fertilizers, rooting hormones, and bloom boosters!


